
How to Create Your First Automation
Every automation in ChassisWatch has one trigger and one or more actions. When the trigger fires, the actions run one after another, in the order listed. There is no workflow builder to learn.
- Open the ChassisWatch menu bar icon and choose Settings.
- Go to the Automations tab and click New Automation.
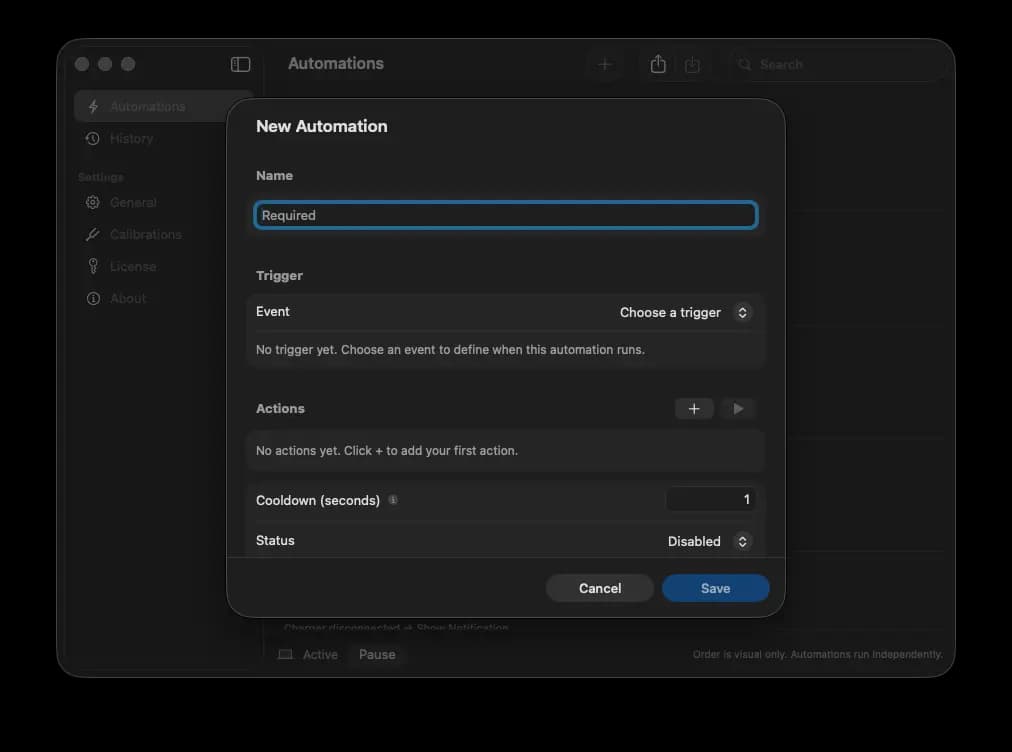
- Pick a trigger. For example, Chassis Tap, set to a double tap on the left side.
- Click Add Action and pick an action. For example, Toggle Mute.
- Add more actions if you want. For example, add Lock Screen after Toggle Mute. They run top to bottom, in the order shown. If one fails or times out, the actions after it don't run.
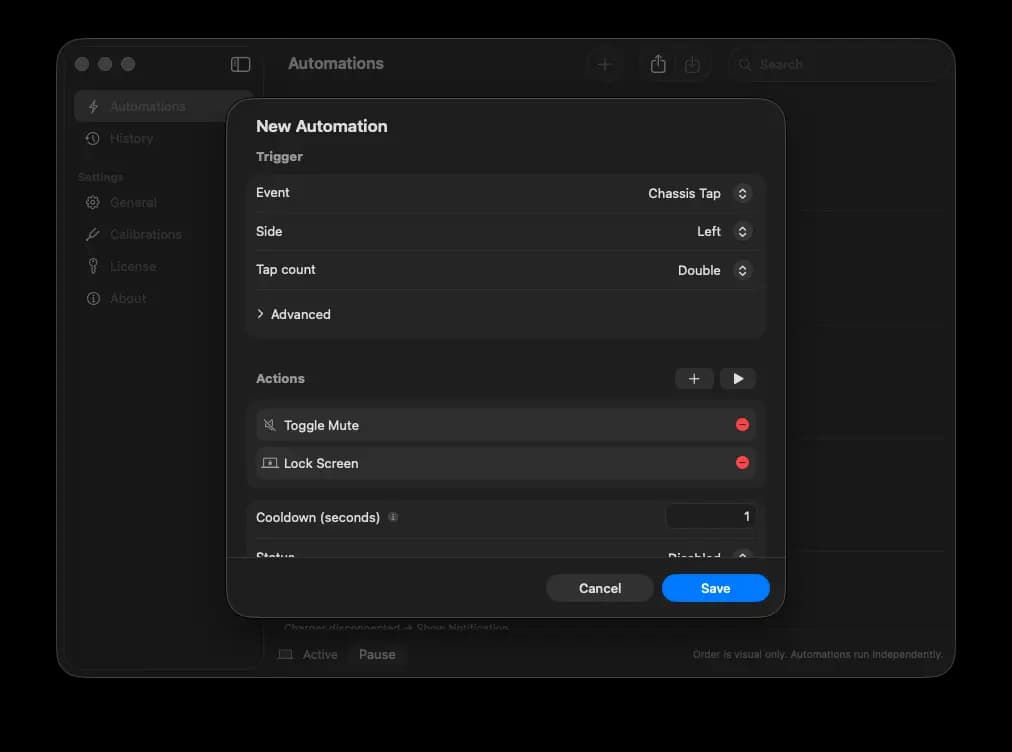
- Click Test Actions to run the whole list right now, or Test Action on a single action, to check it works before you rely on it.
- Give the automation a name so you can find it later.
- Set Status to Enabled, then click Save. The automation runs in the background from then on, no app window required.
- Check the History tab any time to see each run, one entry per action, with whether it succeeded, failed, or timed out.
Enabling an automation requires an active license. If the Status picker won't switch to Enabled, check Settings > License.
Some actions need an extra permission before they work. Press Keyboard Shortcut and the media key actions need Accessibility access, and Show Notification needs Notifications access. The editor tells you which permission is missing before it lets you enable the automation. See how to grant Accessibility permission.